Home | Gallery | Links | Index | Contact

Tuesday, July 15, 2008

Nik Silver Efex Pro Review
Death Valley
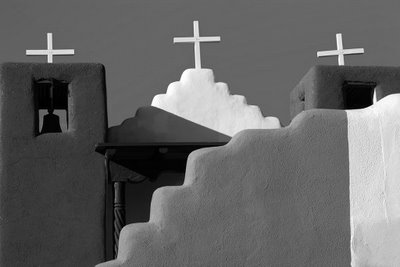
Can anyone tell me how they developed this plug-in? Did they hold a seance and contact Ansel Adams and Edward Weston? I don't know. I do know that Nik Silver Efex Pro is as good as gold. Even somebody like me can achieve fantastic results in just seconds. You may begin to smell the chemicals after looking at your own results.
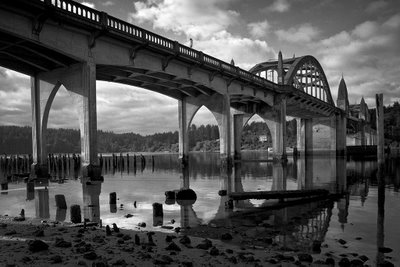
Florence, Oregon
Nik Silver Efex Pro has an easy to use interface with presets on the left and the main controls on the right. You can choose from many popular film stocks, apply color filters, adjust the amount of grain and burn the edges with precision. Then you can save it as your own preset if you like. You can also use it as a smart filter in PhotoShop. This allows you to go back to the photos current setting and tweak it a bit, rather than starting all over from scratch.
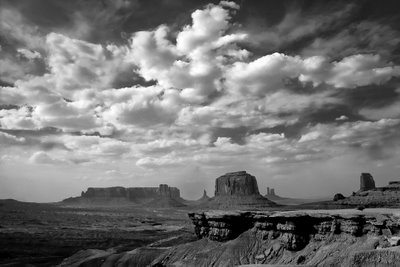
John Ford Point, Monument Valey
You'll find that the default presets are well thought out. As with many of the parameters you just roll over the setting and it temporally updates your photo. Click on it and the settings will lock in. High Structure works great on landscapes. It cranks up the detail and contrast. There's also pull and push settings that mimic film processing. I counted 26 presets in all. On the photo above of Monument Valley I used presets "Full Spectrum Inverse" on the bottom half and "High Structure" on the top half. The very top was a little too dark so I added a control point and brought up the brightness about ten percent. Control points function like a mask, but they're easier to make and adjust. You can click on and off each parameter to see it's effect.
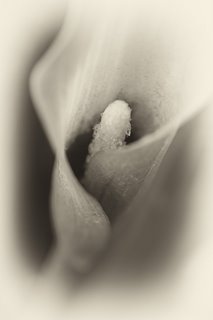
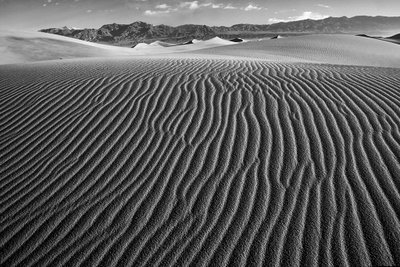
Cala Lily Fine Art PhotoIt's fun coming up with your own look. For the Cally Lily I liked their "Antique Plate II" and removed the grain and bumped up the brightness a bit. For the Sand Dunes below I cranked up the Structure slider. For me Nik Silver Efex Pro is a must have plug-in.

Nik has many online video tutorials and they offer a 15 day free trial. You can't ask for more.

Check out my Fine Art Black and White Gallery using Nik Silver Efex Pro.

You can download a 15 day Trial and see the online video tutorials for Nik Silver Efex Pro here.
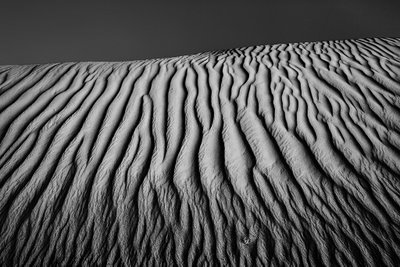
Sand Dunes, Death Vally, CA

Labels: , ,

Sunday, September 16, 2007

A Recipe for Fine Art


There are those photos that just stick in your mind forever. I had the pleasure of making 2 instructional videos for photographer Don Gale. I was the Director and the Video Editor. On the 2nd video we traveled up California's Central Coast and Don took some truly great photos. Looking back it's an amazing feat since I made him jump through so many hoops while taping and it rained most of the way up.

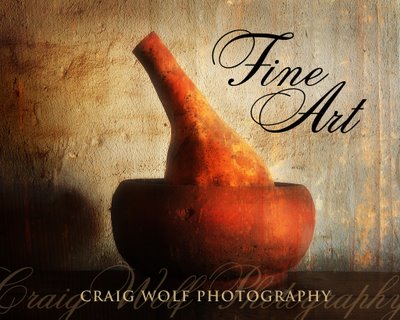
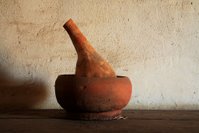
One of our stops was La Purisima Mission. Inside one the rooms Don found the perfect light and took some still life shots. One was of a gourd in a bowl. It always stuck with me, so this year I decided to stop off there on my way to Big Sur. The light wasn't the same but I took the shot anyway. I came up with my own shots and walked away pleased. Still, I wished I had that shot. Not as a trophy shot. I wanted to solve the puzzle of seeing ultra soft light and then working with it in an artistic manner.

Fast forward to last week when I got a copy of "The Art of Photoshop for Digital Photographers" by Daniel Giordan. In it were photos that reminded me of some of Don's shots. I took one of my photos and gave it a crack. In a few minutes I came up with a pretty good photo and very good lesson in Photoshop.

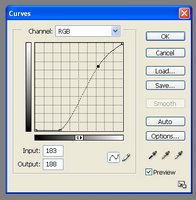
Here's the basic recipe: Crop one mediocre photo. (At least in my case.) Add a curves adjustment layer to darken it. Add another photo that has lots of texture and set the blend mode to overlay. Paint the layer masks with a soft brush to bring out the qualities of each layer. Add type to taste.

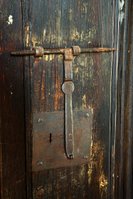
The trick is to use a steep curve to really darken the first photo and then paint back in the parts you want to stand out using the layer mask. (i.e. The gourd and bowl.) Then add the texture (i.e. part of the door photo enlarged to fit - I just wanted the paint chips). Use the overlay blend mode so just enough of the texture shows through. The blend modes are on the top left of the layers palette. On this layer paint out the parts that you don't want. (Again using a layer mask with a soft brush at 35% opacity.) Add type if you want. Here I used Cits and Trajan. I picked colors from the photo to fill the type. I also used the warm mist plug in from 55mm to soften the photo a bit and give it a glow. Most photo editing programs offer similar features.

Well the mock book cover is not as good as Don's original shot, but somewhere sometime I'm going to see that light and I'll be ready. Until then I'm happy to pick up a few more Photoshop skills. I'll be shooting more textures to be sure. This technique of combining textures would make a great backdrop for book pages. I can't wait to try more examples from the book. I like the fact that you can download the book samples and follow along.

Don used very soft light and here I've created an image with much more contrast, but either way, the end result has a fine art quality. I like my new book I believe it will expand my vision. I think more trips with Don are in store too.

On Amazon you'll find: Don Gale's DVD - Photographing San Francisco and California's Central Coast and The Art of Photoshop for Digital Photographers.

Travel with Don Gale on one of his workshops.
For more La Purisima Photos see my gallery or visit Don Gale's Gallery

Labels:

Wednesday, September 12, 2007

Black and White Conversions

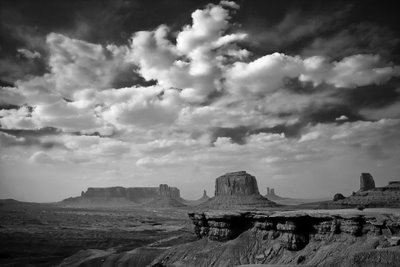
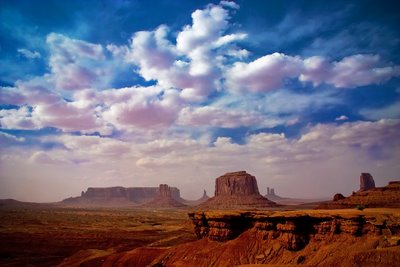
Monument Valley
Here's a quick tip on convert color images to black and white. It's straight from the Adobe Website and it's free. No high dollar plug ins.


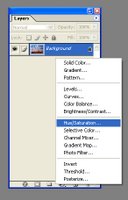
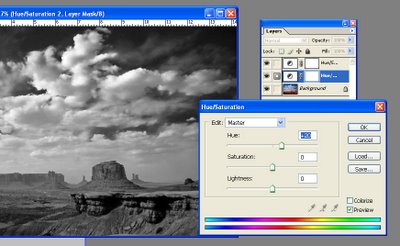
First open your color image and create an adjustment layer. It's the little circle at the bottom of the layer's palette. Select "Hue/Saturation" and pull the saturation slider to zero. (Click on these examples to read.)


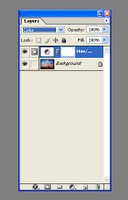
Hit enter and select color as the blend mode. (The blend mode is near the top of the layers palette just under the word "Layers".)


Now select the bottom layer and put another adjustment between your photo and the first adjustment layer. Now adjust the hue slider, which acts as a filter, to taste. You can add another curves or levels adjustment layer on the very top if needed. Flatten and save. You can make this into an action and double click on the adjustment layers to change them. You can also add a photo filter to add a tint. This of course is just one of the many ways PhotoShop offers, but it's the one I use most often.


If you do a lot of black and white work you should think about upgrading to CS3 which has a killer adjustment for converting color to black and white. You also have the same amount of play in Lightroom, but for those of you who don't have the cash (or like in the bank where it belongs) this old trick works in PhotoShop and most photo editing programs.

Labels: