Overshoes Online - A Perfect Fit for Outdoor Photographers
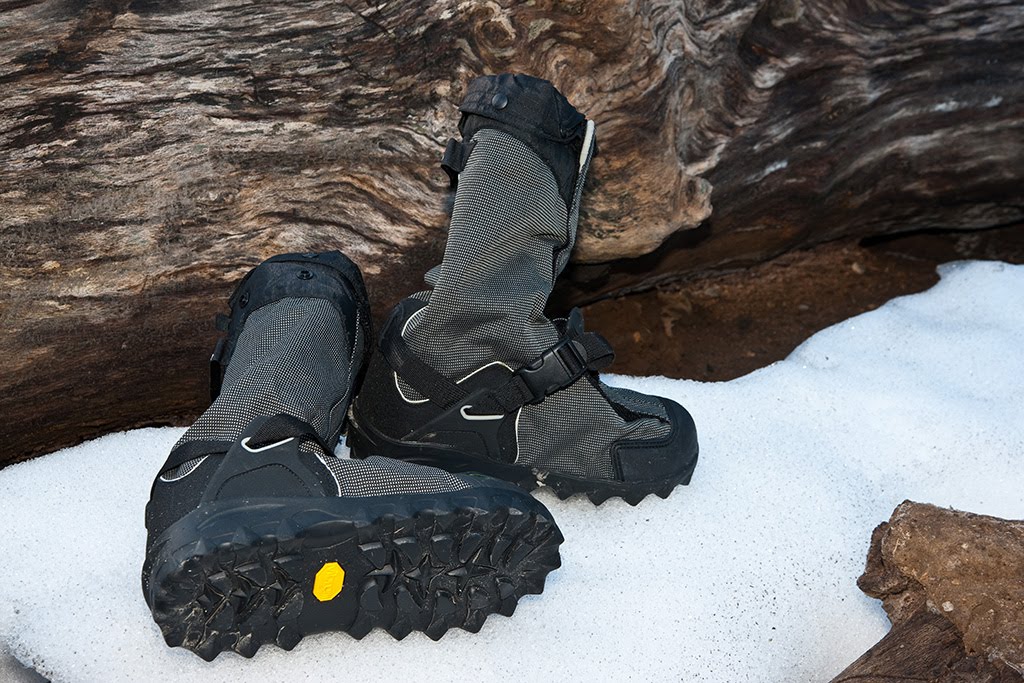 When Overshoes Online asked me to review a pair of their overshoes, little did they know that I had just come back from a trip where my feet got wet every day. I picked the NEOS Navigator 5 Overshoe. As the name implies they slip over your shoes. The NEOS Navigator 5 Overshoe is 15 inches high and extends to 20 inches. They are 100% waterproof and extremely well made.
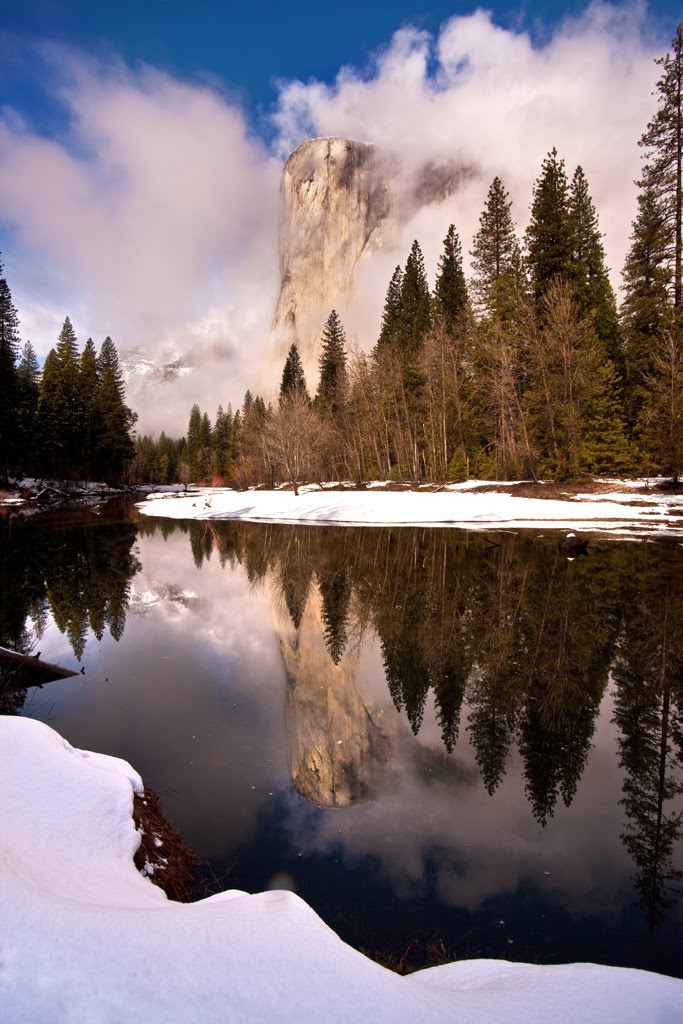 I tried them out during the fall but I wanted to trek through some snow before I gave a full review. I can now say Wow! The NEOS Navigators are warm and comfortable. As a photographer I'm often standing around, waiting for that magic light. The overshoes are like wearing slippers.
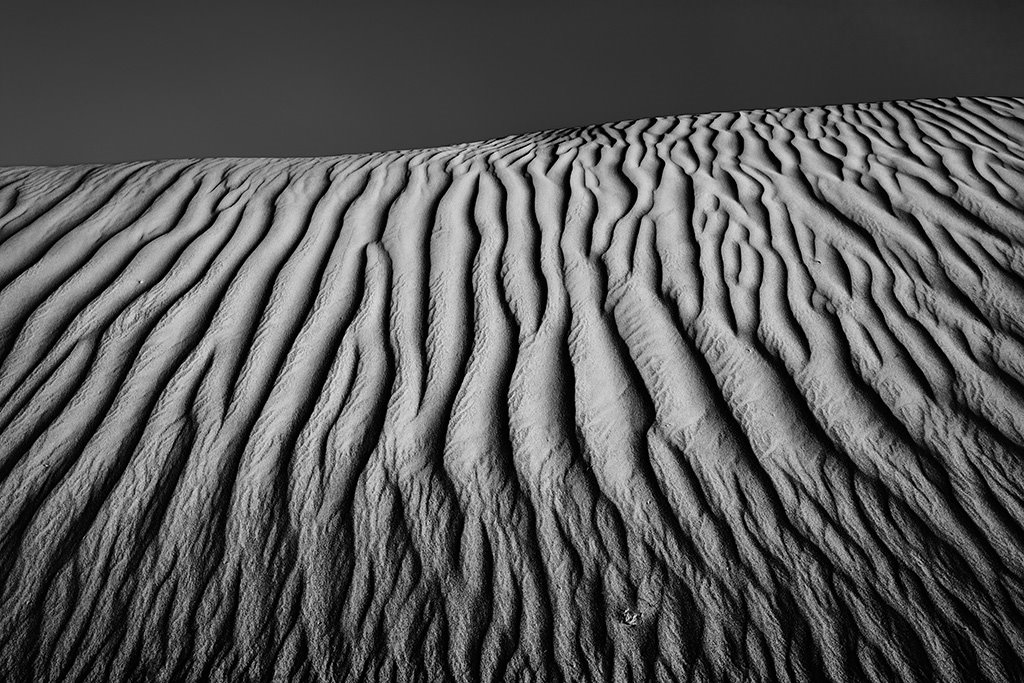
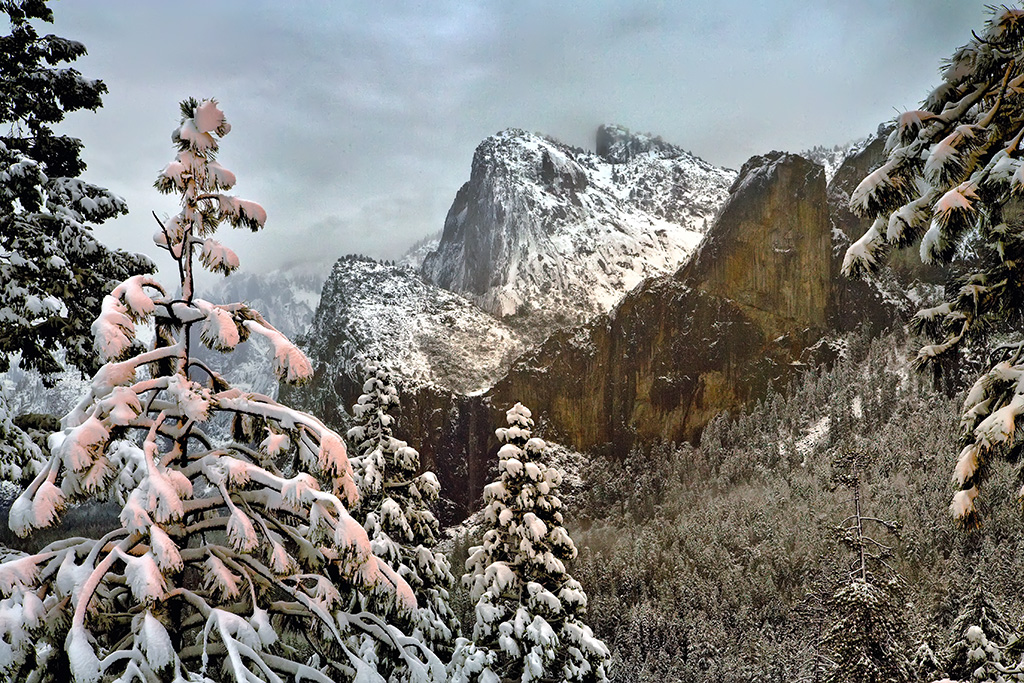
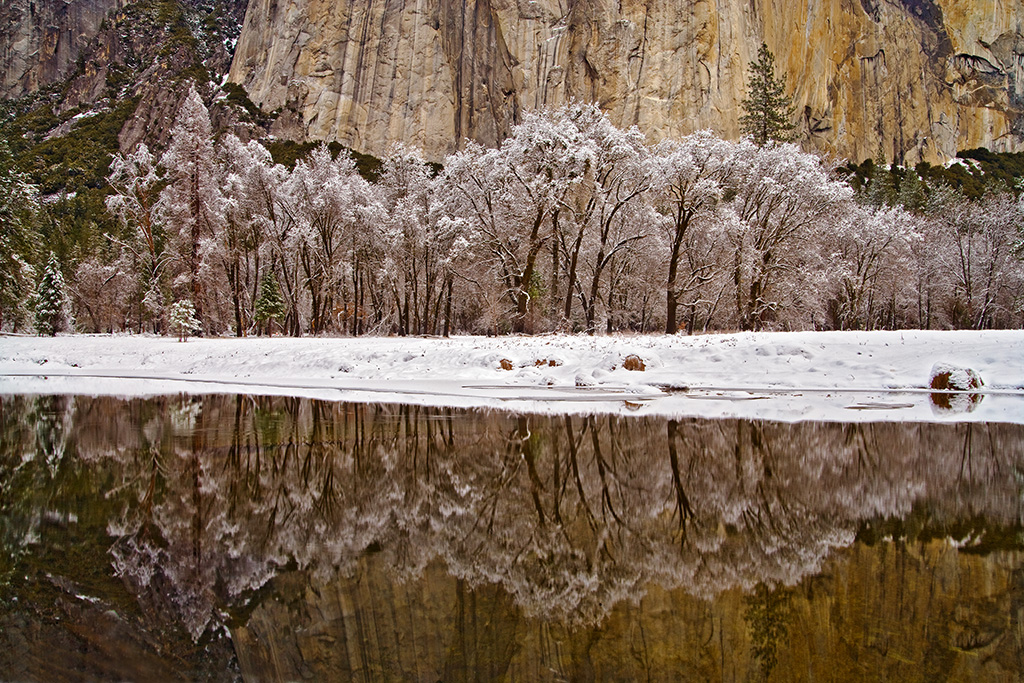
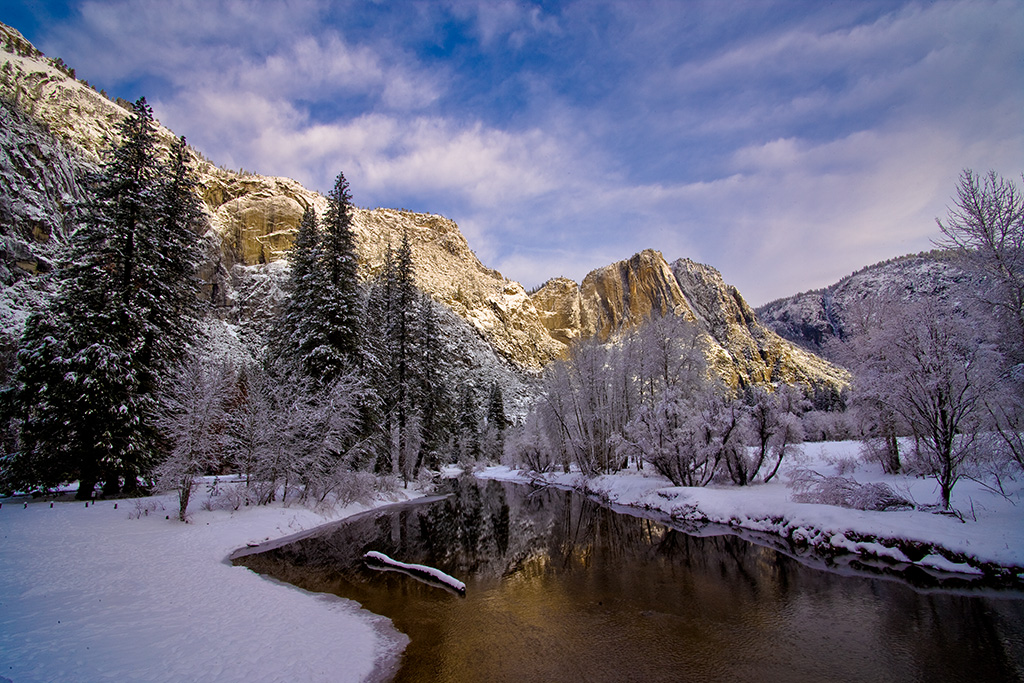
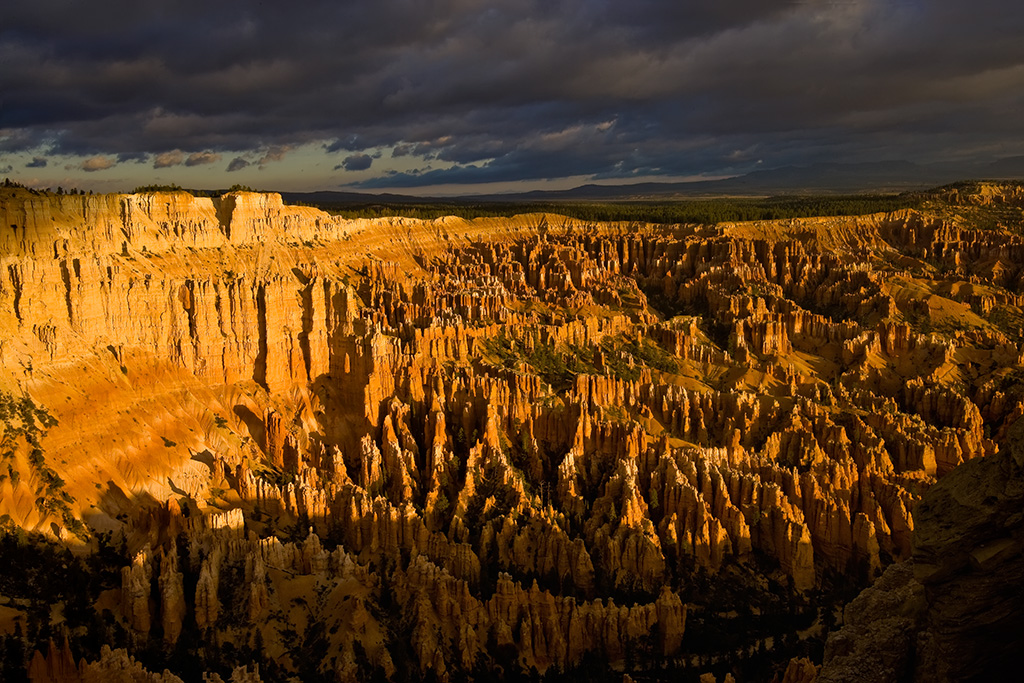
Now for the good stuff. I crossed the Merced River several times and treked through the snow. The shoes have good traction and are 100% waterproof as they claim. The NEOS Navigators also dried out quickly. I take along an old brush to clean them off before I toss them back into the car.
The NEOS Navigators slip over your shoes and fasten with Velcro. I take a few steps in them and then cinch the straps. They have a heal that's snowshoe compatible too. They're rated to -20 F. I highly recomend the NEOS Navigator 5's for anyone that spends a lot of time outdoors. For the Outdoor Photographer they're a must!
Check out their website at OvershoesOnline.com
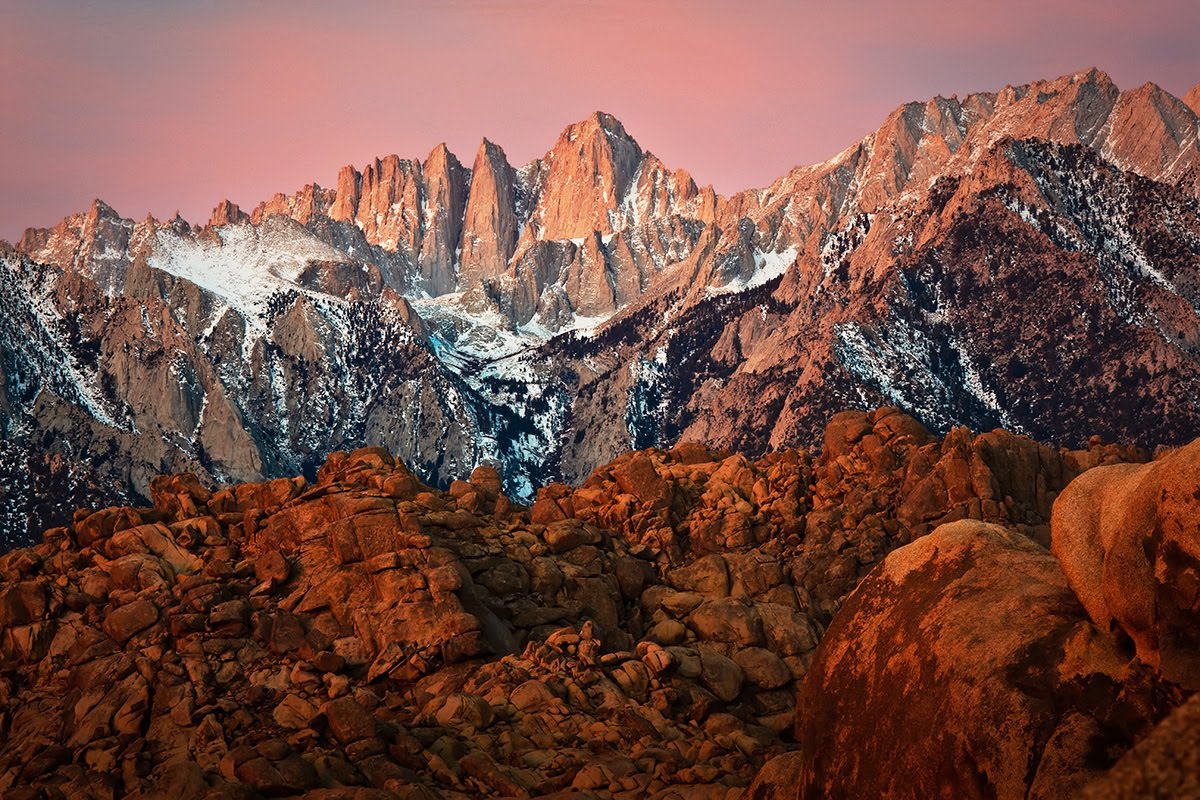
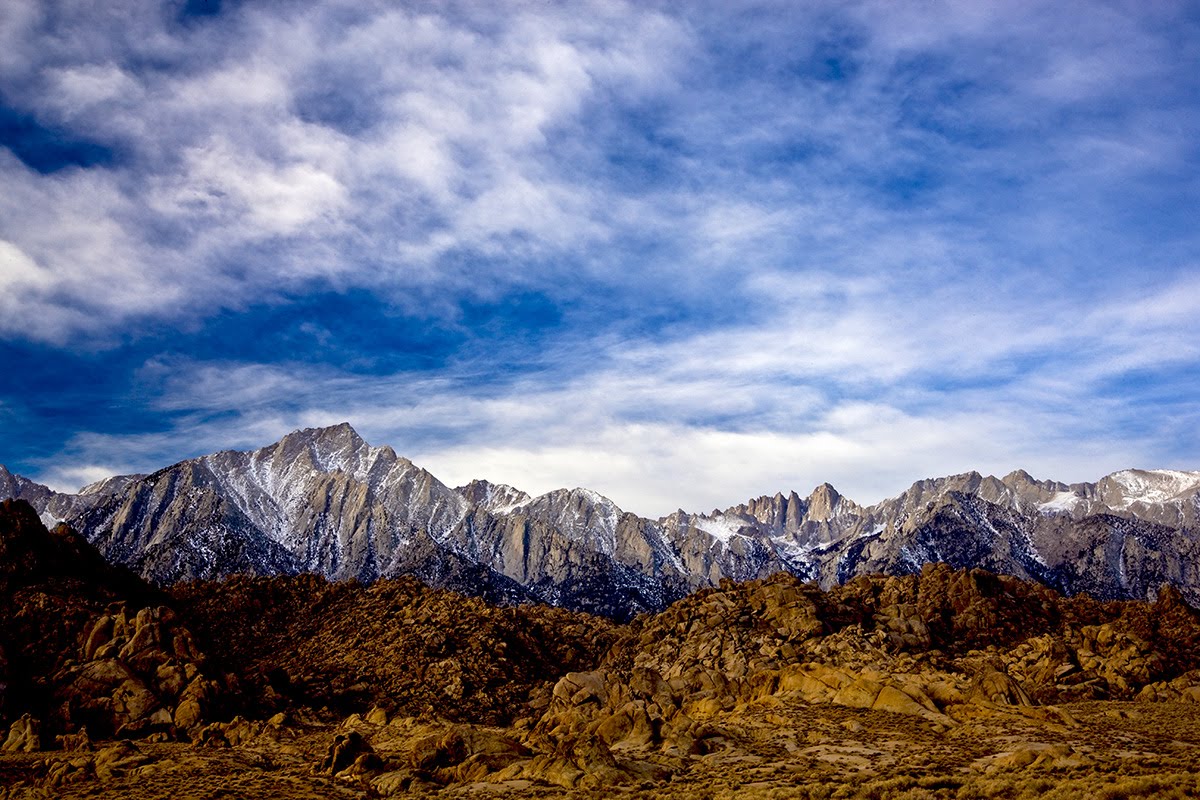
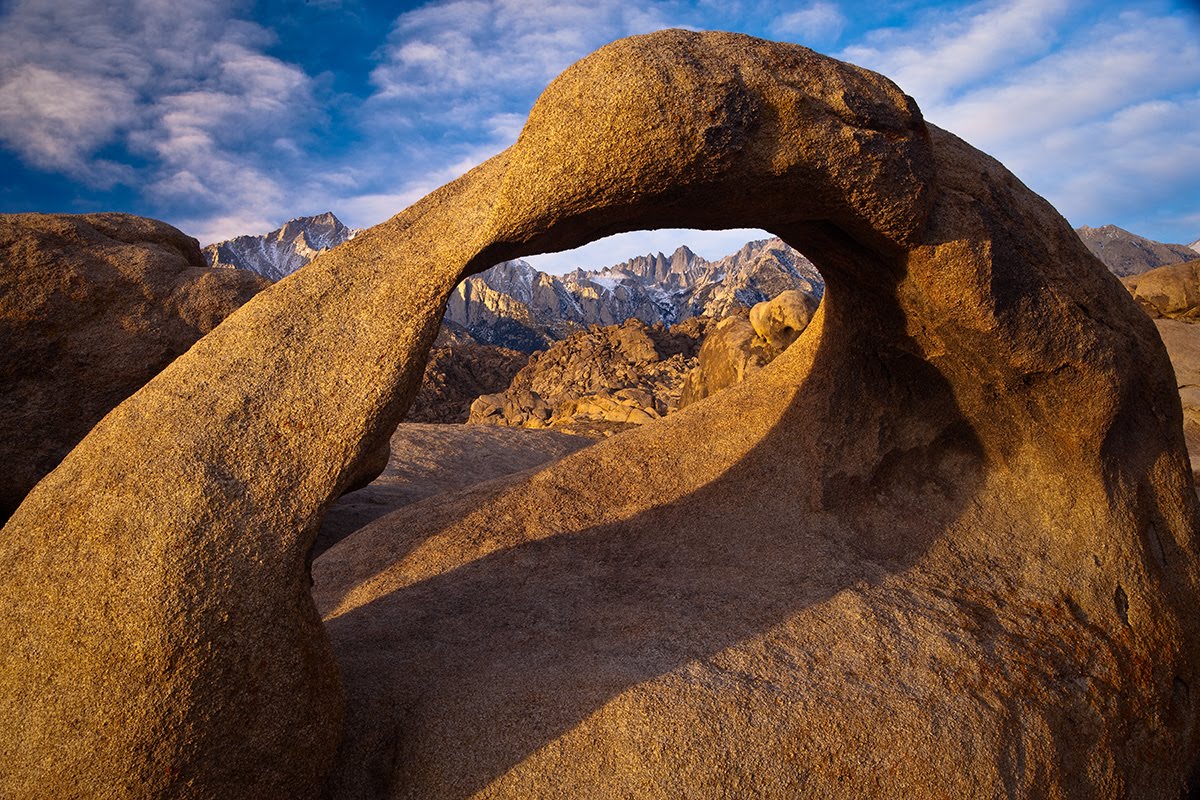
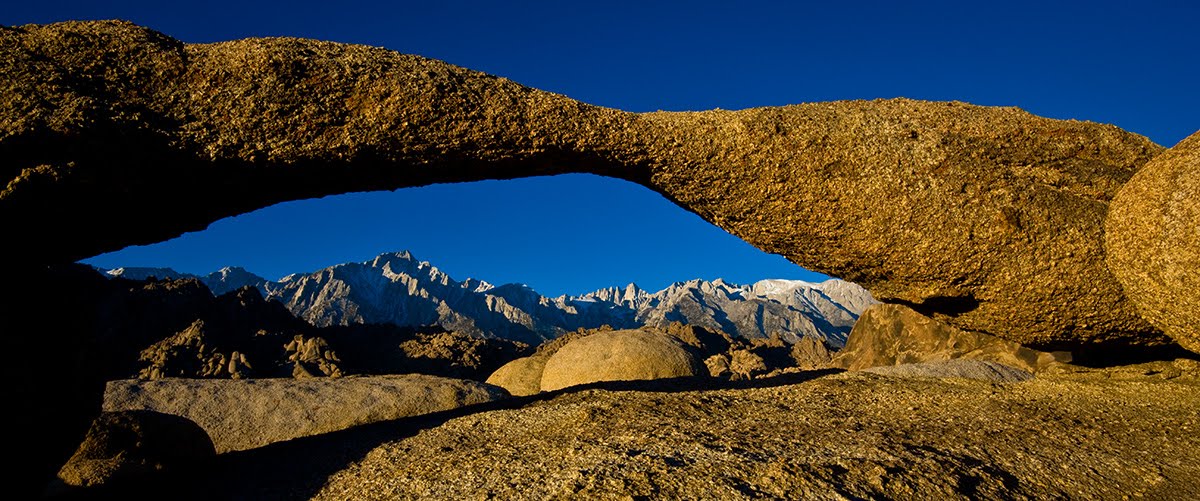
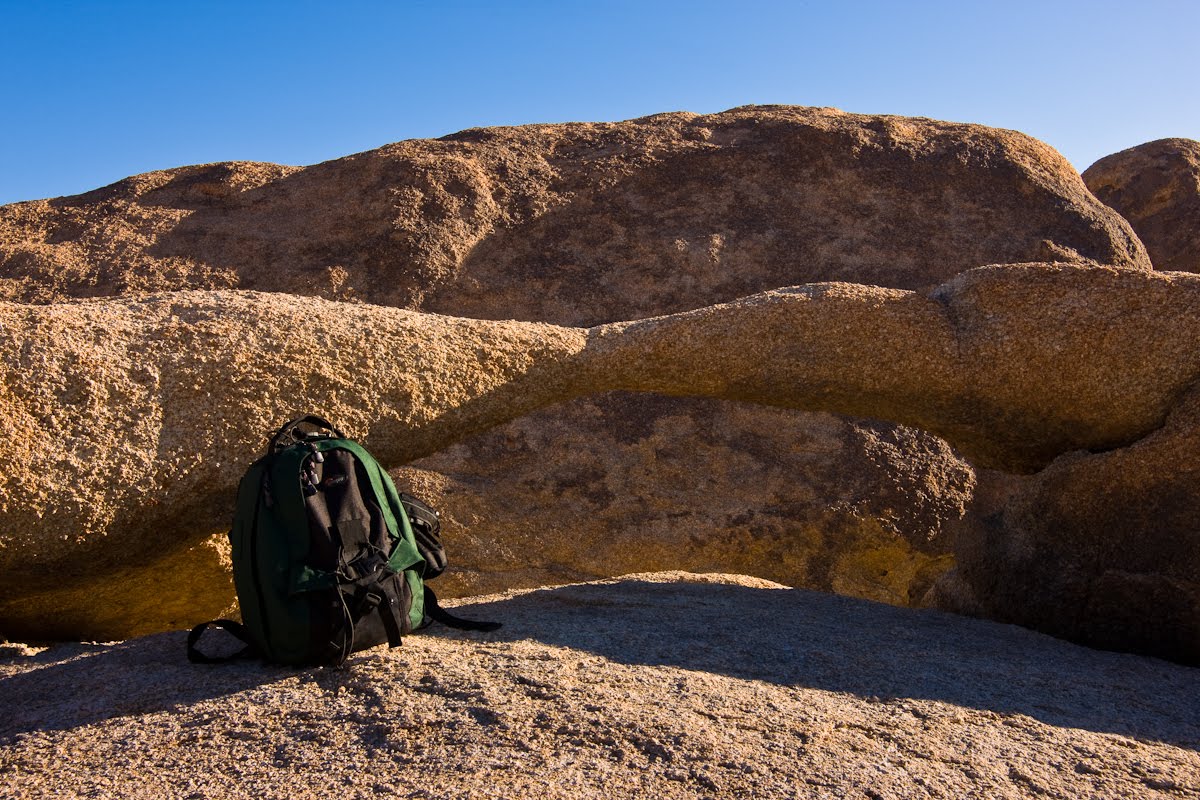
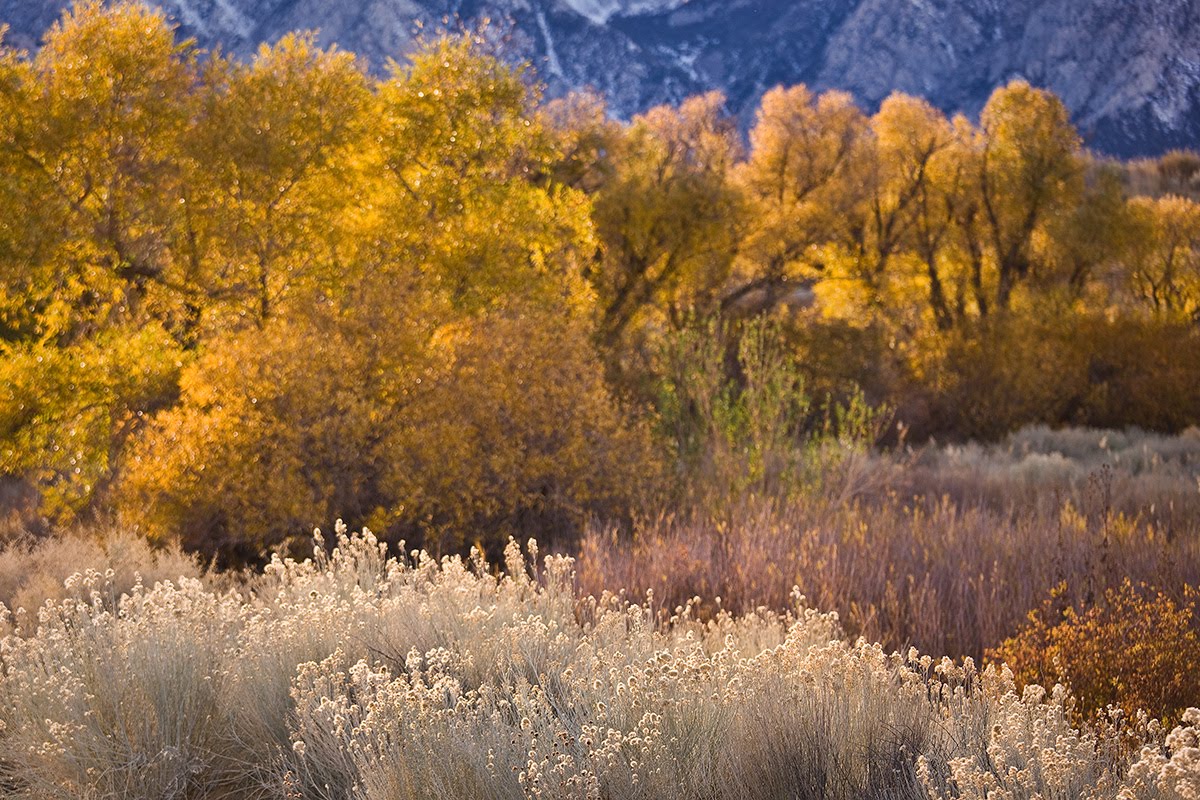
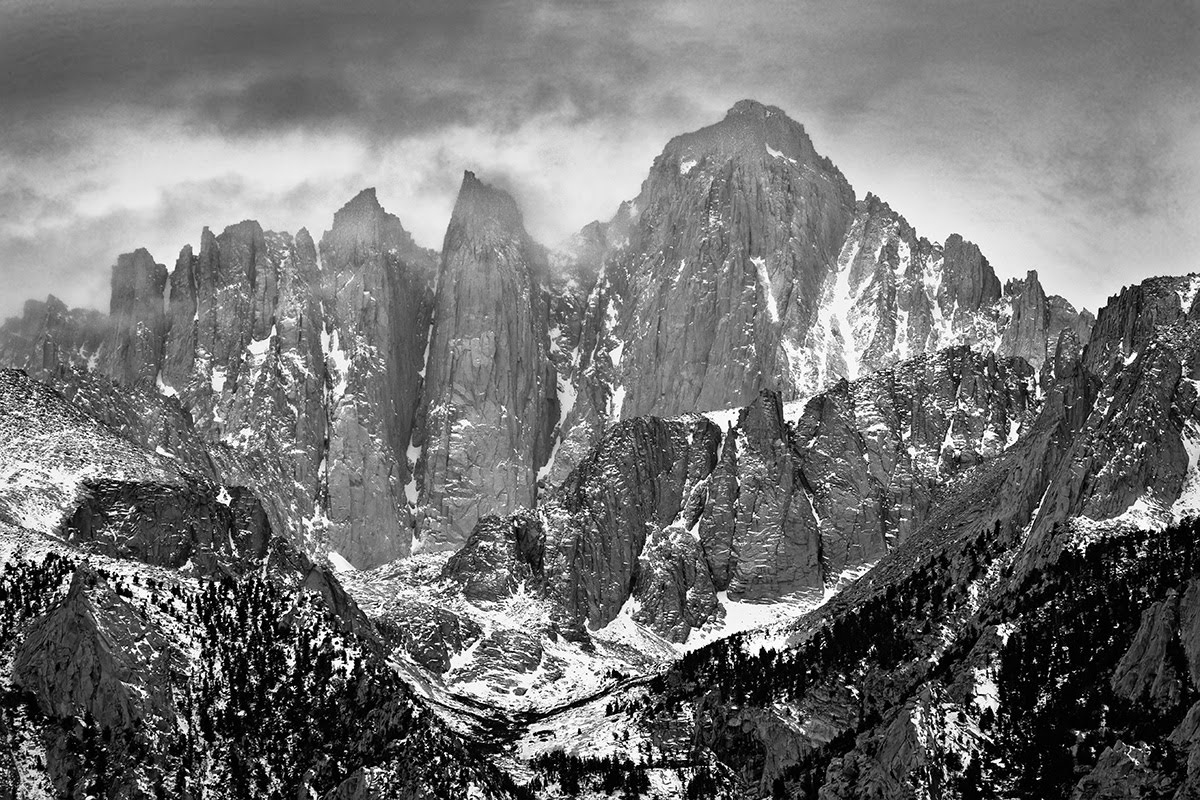
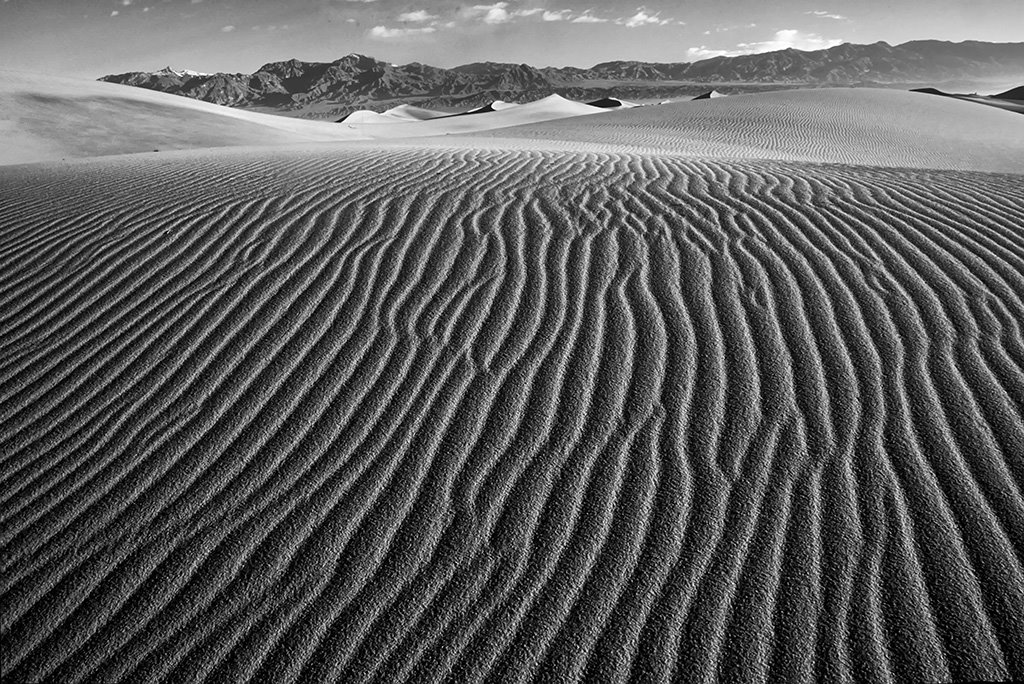
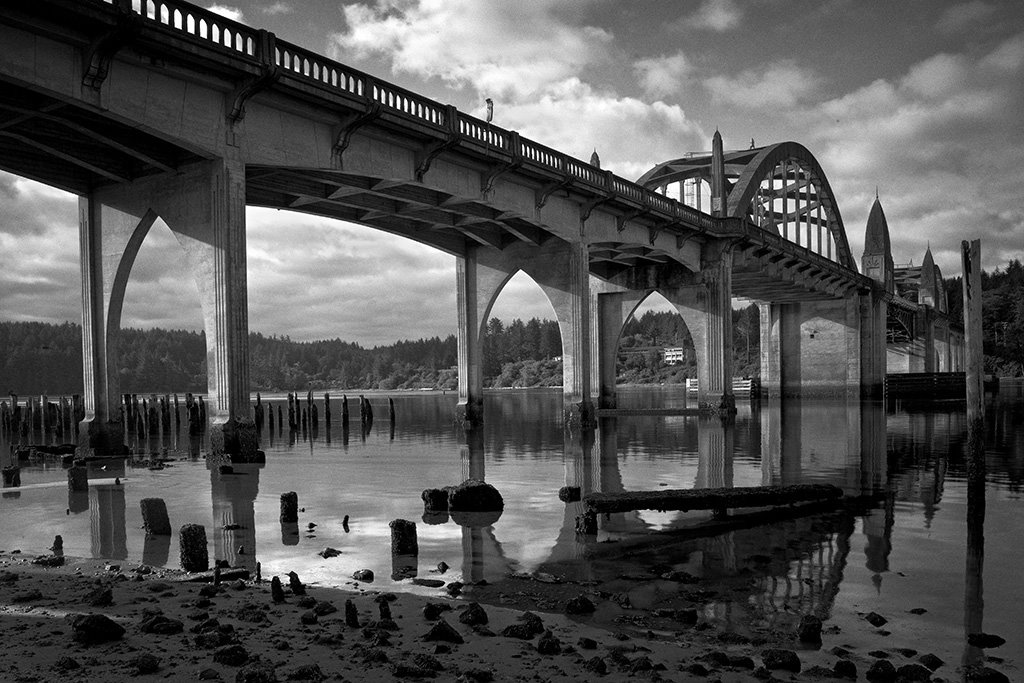
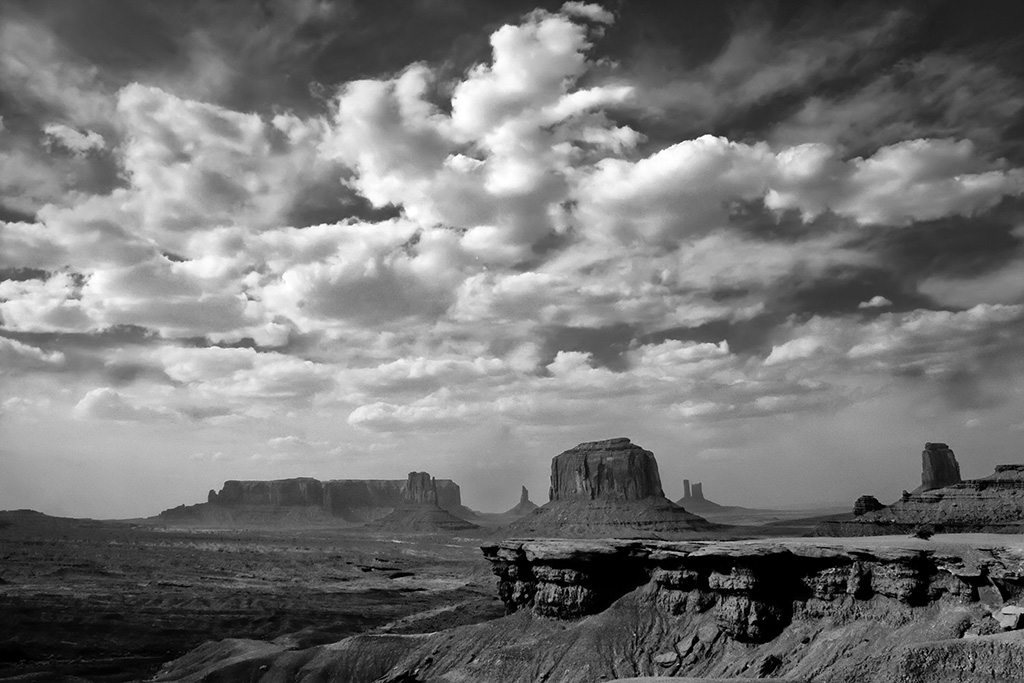
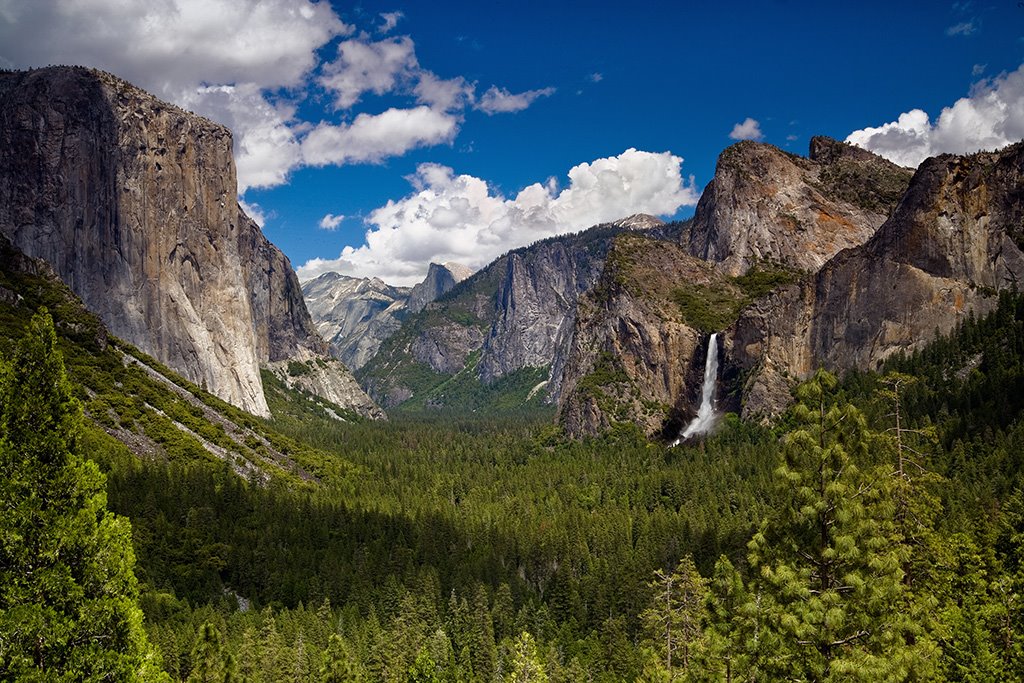
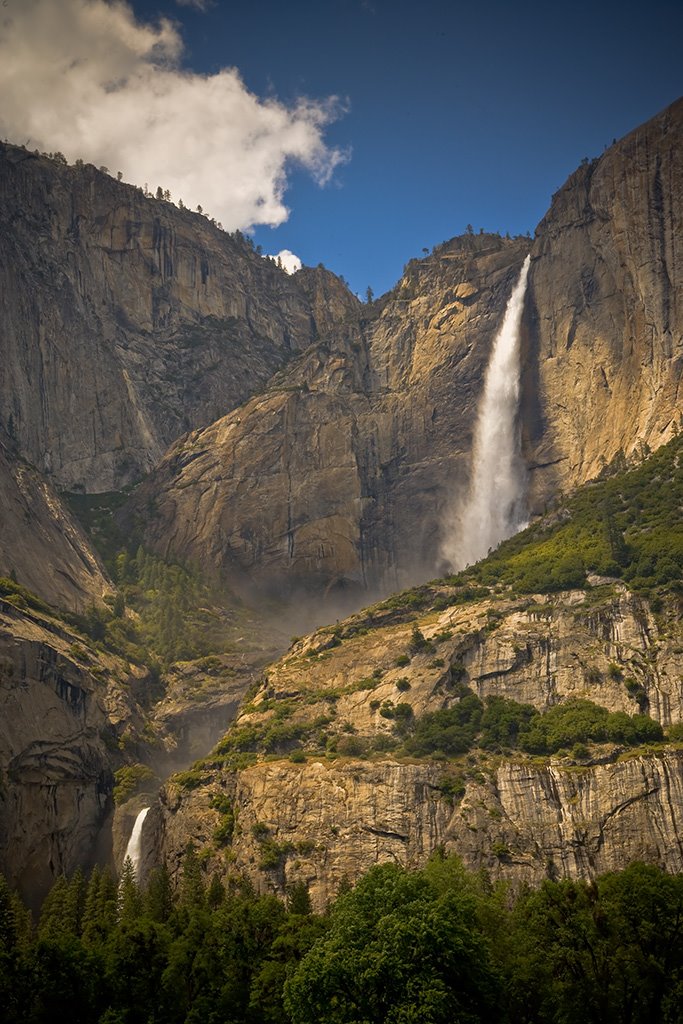
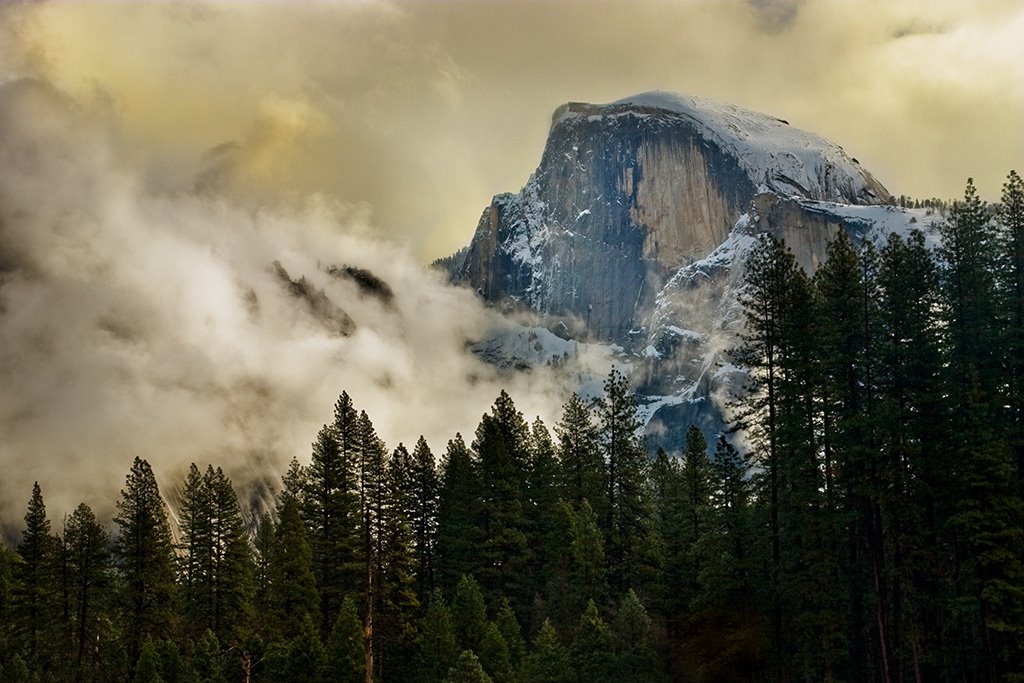
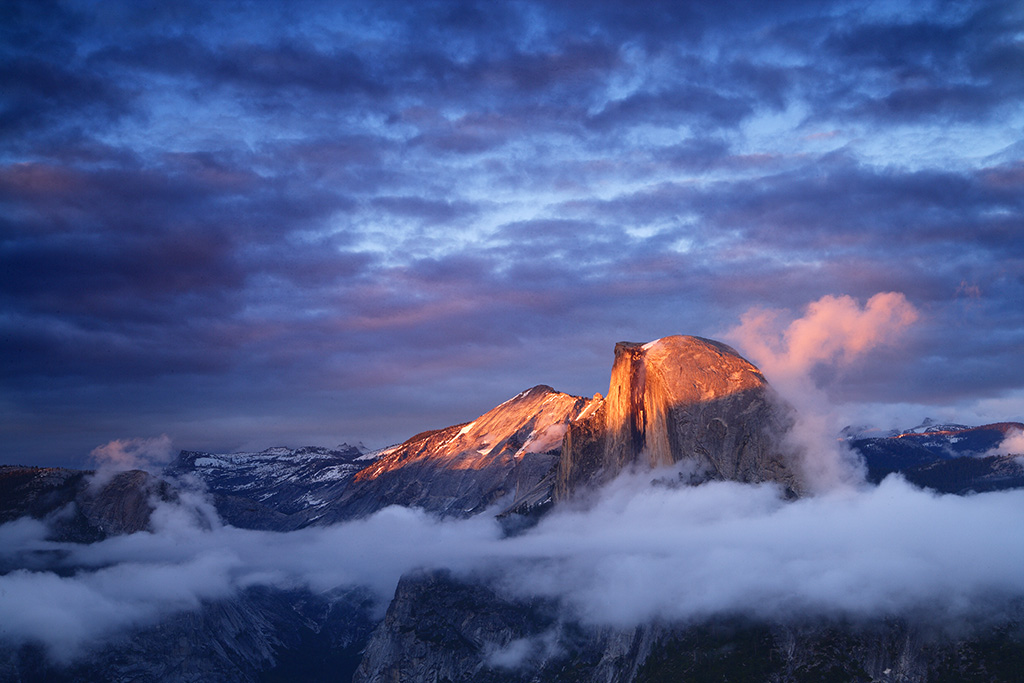
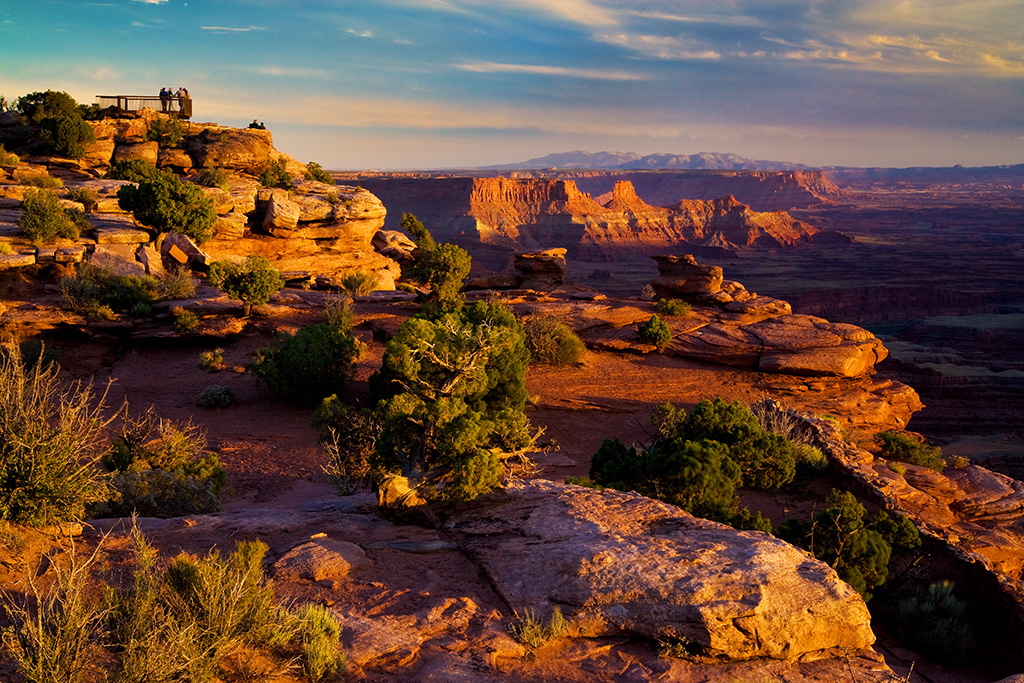
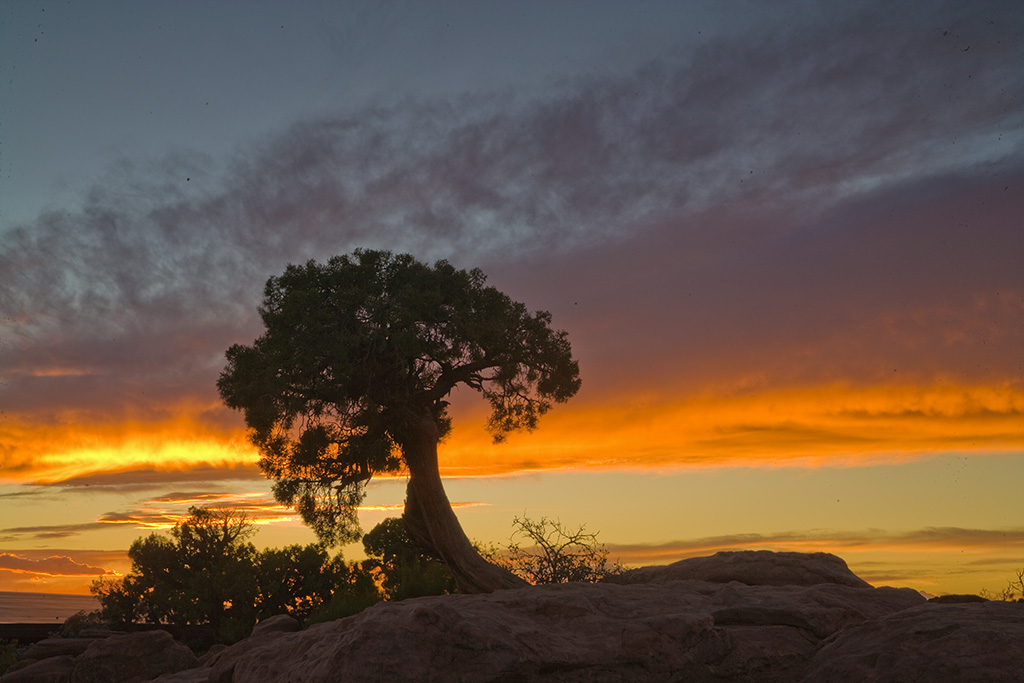
More Yosemite Photos at Yosemite Fall - Yosemite Late Fall - Yosemite Winter 2
Plus a Yosemite Winter Photo Gallery from my last trip using Lightroom. (and the shoes)
Labels: California, Stock Photography, Yosemite
posted by Craig Wolf Photography at
10:35 AM
![]()